

Rust spots on your car are like unwanted guests—they expose uninvited and refuse to leave discreetly. Fortunately, addressing these blemishes is neither an impossible task nor individual reserved only for professionals.
With to some extent know-how, the right finishes, and a dash of patience, you can tackle rust spots on your auto’s exterior and enhance allure appearance and durability. Let’s survey how to solve this in manageable steps.
Understanding Rust: The Unwanted Blemish
Before diving into the “how,” it’s beneficial to grasp the “reason.” Rust occurs when iron, oxygen, and dampness interact, superior to oxidation. Cars, generally collected of steel (iron alloy), are prone to this process, especially when the guarding paint layer is compromised.
Tools and Materials You’ll Need
To replace your car’s exterior, gather the following provisions:
- Sandpaper (ranging from 80 to 400 grit)
- Rust converter or rust remover
- Primer
- Touch-up paint corresponding to your car’s color
- Clearcoat
- Masking tape and flexible sheeting
- Microfiber cloths
- Small paintbrush or spray applicator.
Step-by-Step Guide to Fixing Rust Spots
· Step 1: Safety and Preparation
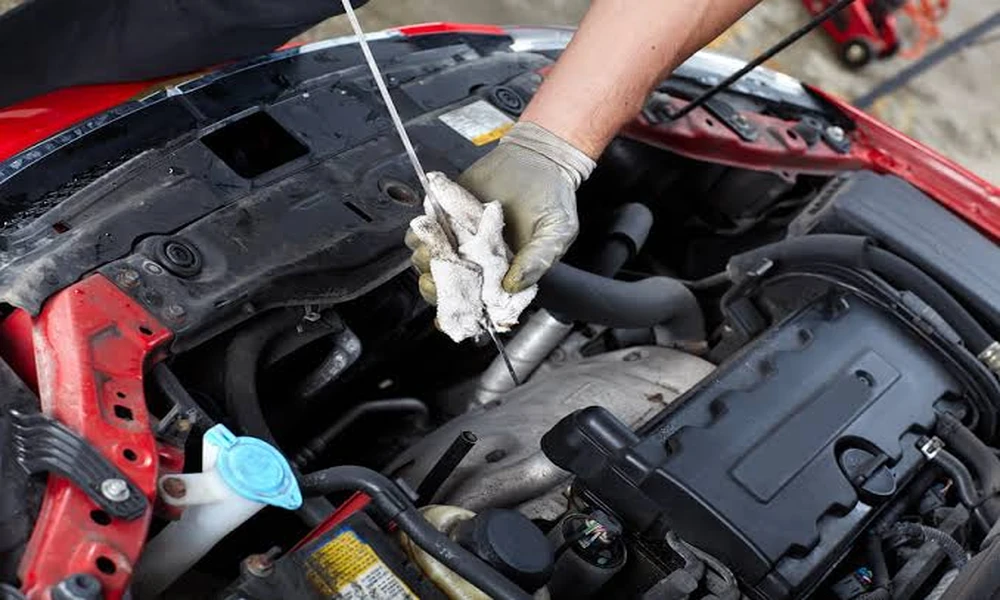
Before you begin Auto Repair in Littleton, CO, guarantee you’re working in an airy area and tiring safety gazes and gloves for security. It’s further wise to wash the concerned area accompanying soap and water, removing any soil or debris that manages to interfere with the repair process.
· Step 2: Sand Away the Rust
Begin by rubbing the corroded area utilizing coarse sandpaper (80 grit) to away the rust and paint surrounding the spot. Progress to more delicate grits (up to 400 grit) to smooth the edges and prepare the surface for primer.
· Step 3: Apply Rust Converter or Remover
After rubbing, apply a rust converter or remover to any chronic rust. This chemical situation neutralizes rust, turning it into a stable compound that forbids further oxidation.
· Step 4: Mask and Prime
Once the rust is neutralized, use masking tape and flexible sheeting to cover areas about the repair spot, protecting them from overspray. Apply an automotive primer to the rubbing area.
· Step 5: Paint Application
Now comes the part where you doubtlessly begin to visualize the fruit of your labor. Apply the touch-up paint utilizing a small brush or spray applicator for the best areas, addressing even coats.
· Step 6: Finish with a Clear Coat
To match the extreme gloss of your ride’s finish, complete the process by applying a clear coat over the made-up area. This step not only embellishes the appearance but likewise adds a tier of protection against material elements.
Conclusion
By following these steps, you’re not just dealing with rust; you’re likewise cultivating an ability that empowers you to maintain your automobile’s value and presentation. Remember, the key is capacity and precision—qualities that transform an inexperienced problem into a shiny solution.


Comments